|
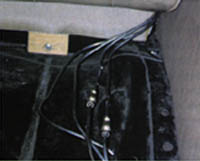
8) You may have to get creative (in your path) to go from under the car through the inside of the car and into the trunk. Above the floorpan, all is hidden under the back seat. It's pretty hard in this limited space to make all trick bends around four corners in 18 inches, unless you want to use a union at every turn.
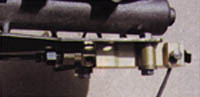
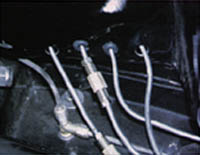
10) From the combination valve under the master cylinder, on the remote unit, two lines split and go to all four wheels.
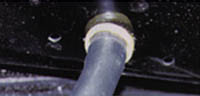
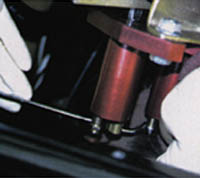
12) A barbed hose-union and plastic collar are ideal to use through the floorplan to prevent wear on the vacuum hose.
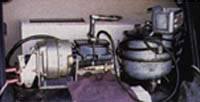
13) The best way to bleed the system is with this pressurized bleeding pot. Notice the center diaphragm that separates the air pressure side (bottom) from the brake fluid (top). This way, no air goes in the system when the pressurized fluid enters the master cylinder. Notice that the pressure lid on the master cylinder allow no leaks, plus you'll never run out of fluid.
|